What Your Brand Designer Needs to Know Before Ordering Custom Merch
Working with a brand designer on custom merch? Here's what both parties need to know to get great results every time.

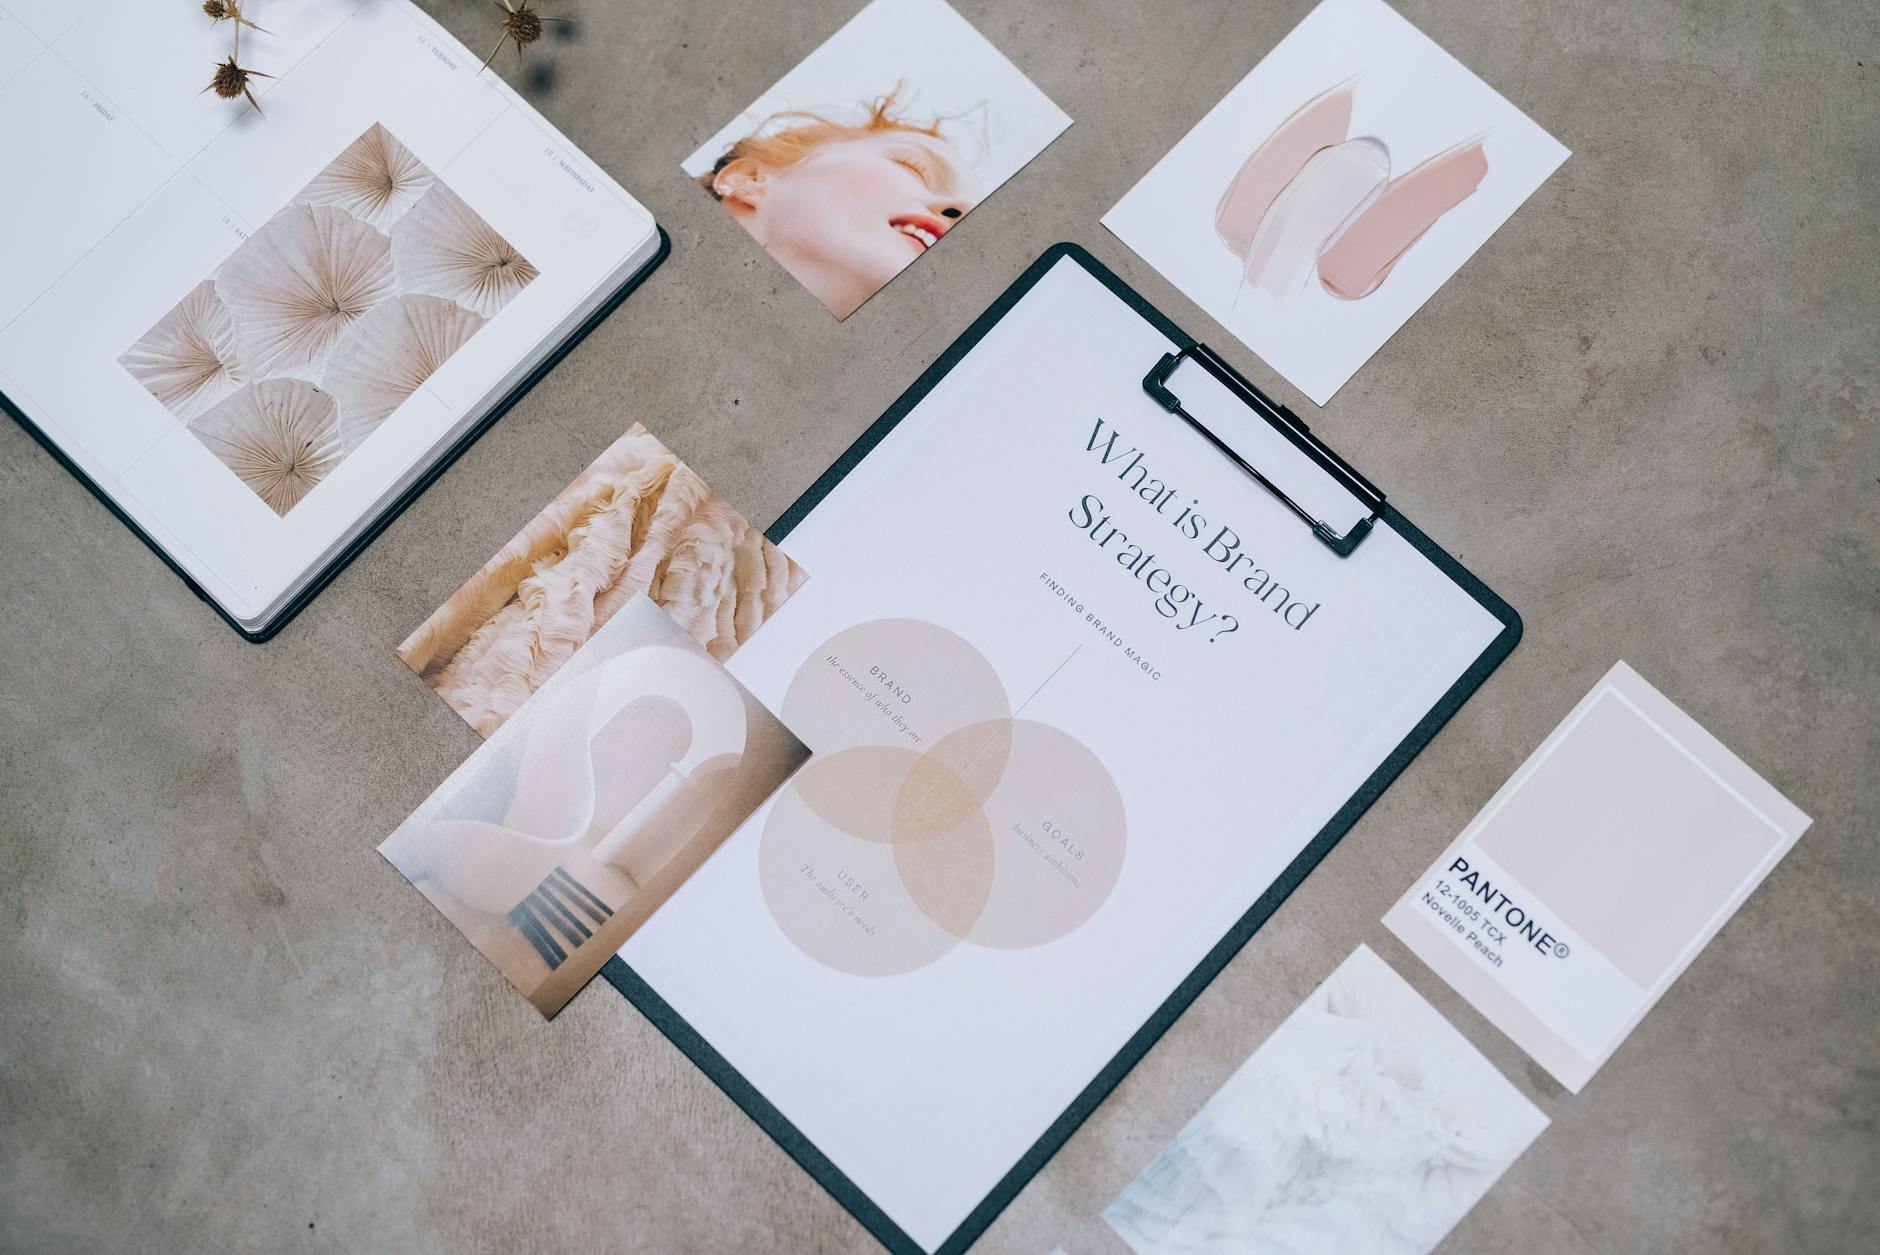
Written by
Priya Kapoor
Branding & Customisation
If you’ve ever handed a brand designer a brief for custom merchandise only to end up with a proof that looks nothing like your brand — or worse, a finished product that disappoints — you’re not alone. The gap between a beautifully crafted brand identity and a print-ready merchandise file is wider than most people expect. Whether you’re a corporate team in Sydney ordering branded polos for a conference, or a Melbourne event organiser pulling together 500 tote bags for a product launch, understanding how to work effectively with your brand designer can mean the difference between merch that turns heads and merch that ends up in a drawer. This guide breaks down exactly what brand designers need to know — and what businesses need to communicate — before any merchandise order goes to print.
Why Brand Designers and Merch Orders Don’t Always Mix Well
Brand designers are skilled at creating logos, colour systems, typography hierarchies, and visual identities that look stunning on screens and printed collateral. But promotional products are a different beast entirely. A logo designed for a website or business card doesn’t automatically translate to a garment print or a laser-engraved trophy without some reworking.
Here’s the core problem: most brand designers build files in formats and colour profiles suited to digital or commercial print. Merchandise decoration — whether that’s screen printing, embroidery, sublimation, or pad printing — has its own set of technical requirements. Without knowing those requirements upfront, even the most talented designer can produce artwork that causes delays, increases costs, or compromises the finished result.
The good news is that with the right briefing process and a little upfront education on both sides, your brand designer can set your merchandise project up for success from day one.
What Every Brand Designer Should Understand About Merch Decoration
File Format Requirements
This is one of the most common sticking points. Most merchandise decorators require vector artwork — typically an .ai, .eps, or .pdf file — rather than raster formats like .jpg or .png. Vector files allow artwork to be scaled without any loss of quality, which is essential when you’re sizing the same logo for a pen and a banner.
If your brand designer only has high-resolution raster files available, a skilled decorator may be able to work with them depending on the decoration method, but it’s always best to start with vectors. If your brand identity was originally created in Adobe Illustrator or a similar vector-based tool, ask your designer to export the logo in vector format before your order begins.
Colour Modes and PMS Matching
Digital colour (RGB or hex codes) looks vibrant on a screen but doesn’t directly correspond to physical ink. For consistent brand colours across merchandise, most decorators use the Pantone Matching System (PMS). Your brand designer should have PMS equivalents documented in your brand guidelines. If they don’t, ask them to identify the closest PMS match for each brand colour.
This matters enormously for multi-piece orders. A Perth council ordering 1,000 branded water bottles alongside pull-up banners needs every item to reflect the same shade of teal — not a slightly different hue simply because the files weren’t PMS-coded.
For decoration methods like sublimation printing for promotional products, colour accuracy works differently again. Sublimation uses a CMYK process that’s applied via heat transfer, so full-colour gradients and photographic images are possible — but PMS matching is still worth noting in your brief.
Simplification for Embroidery
Not every logo works as an embroidered design without some adaptation. Fine lines, small text, and gradients often don’t embroider well. A brand designer working on merchandise for the first time should know that embroidery works best with simplified, bold artwork. Thin strokes may need to be thickened, small text may need to be removed or increased in size, and gradient fills will need to be converted to solid colour fills.
This doesn’t mean your brand suffers — it means your decorator will create an embroidery-specific version of your artwork (sometimes called a “stitch file”) that respects the spirit of your brand while being physically achievable on fabric.
Briefing Your Brand Designer for a Merchandise Project
Give Them the Product Specs First
Before your brand designer touches a file, give them as much information about the physical product as possible. That includes:
- The item type and material (e.g. a 210gsm cotton tote bag or a stainless-steel travel mug)
- The decoration area dimensions (e.g. a print area of 200mm x 200mm)
- The decoration method being used (screen printing, embroidery, laser engraving, etc.)
- The number of print colours allowed (some decoration methods have colour limits)
- Whether the product has a template or dieline available from the supplier
Many Australian merchandise suppliers will provide a product template or artwork dieline on request. Share this with your brand designer before they start creating or adapting files. It saves considerable back-and-forth.
Establish the Colour Restrictions Early
Some decoration methods limit the number of colours you can use. Screen printing, for instance, typically charges per colour — so a five-colour logo on a budget run of 100 t-shirts could significantly increase the per-unit cost. A good brand designer can work with you to create a one- or two-colour version of your logo specifically for screen printing use.
If you’re planning an eco-conscious merch run — say, sourcing upcycled promotional products or hemp branded merchandise — decoration method options may be narrower, so looping in your designer early to discuss print limitations is even more important.
Think About Scalability
One of the most underrated parts of working with a brand designer on merch is thinking about scalability across a product range. If you’re ordering items for a trade show — from custom lanyards to branded notebooks to eco promotional notebooks to giveaway pens — each product has different decoration dimensions. Your designer should prepare artwork in multiple sizes so your decoration house doesn’t have to adapt files on the fly (which can introduce errors and delays).
Common Merchandise Mistakes That Brand Designers Can Help Prevent
Beyond file formats and colour matching, there are a handful of recurring mistakes that can be avoided when your brand designer is fully briefed on the merchandise process.
Overcrowded designs: Merchandise is not a brochure. The most effective branded products carry a logo, tagline, or visual element — not a full brand story. Your designer should help strip back the artwork to the essential elements that will read clearly on a small or three-dimensional surface.
Ignoring the product colour: A white logo on a white product doesn’t work. Your designer should always know the background colour of the product when preparing artwork. This is especially relevant for promotional items with custom printing where the product comes in multiple colourways.
Skipping the proof stage: Always request a physical or digital proof before approving a full run. A digital mock-up from your decorator, reviewed alongside your brand designer, can catch errors before they become expensive. This is non-negotiable for large orders — whether you’re putting together event swag for a trade show in Australia or orientation week merchandise.
Not planning for future reorders: If your brand designer provides artwork files in formats only they can access or modify, you’ll be dependent on them for every future order. Ask for final print-ready files in standard formats that your merchandise supplier can use directly.
When to Involve Your Brand Designer vs. When the Decorator Handles It
Not every merchandise project needs a brand designer’s direct involvement. Many Australian merchandise suppliers have in-house graphic designers who can adapt your existing logo artwork for specific products at no extra charge. If you already have a clean, vector logo and a defined colour palette, your decorator may be able to handle the artwork preparation entirely.
However, your brand designer should absolutely be involved when:
- You’re launching a new product line or campaign with a specific visual identity
- The merchandise is premium or high-visibility (think personalised executive gifts or awards and recognition items)
- You’re creating merchandise that will appear at a major event alongside other branded materials
- Brand consistency is being reviewed across departments or locations
For seasonal or campaign-specific merch — like promotional branded calendars for the new year or Easter promotional items — your decorator’s in-house team may be perfectly equipped to adapt existing artwork, saving your designer time and your business money.
How to Structure the Brief for Your Brand Designer
A well-structured brief makes everyone’s job easier. When briefing your brand designer for a merchandise project, include:
- Project overview — what the merch is for (event, staff uniforms, client gifts, etc.)
- Product list — every item being ordered, with dimensions and decoration areas
- Decoration methods — confirmed by your merchandise supplier
- Colour limitations — including maximum colour counts per product
- Turnaround timeline — with room for proof approval and any artwork revisions
- Brand assets available — logo files, brand guidelines, PMS codes
- Reference examples — examples of past merch you loved or hated
For complex, multi-product orders — such as a full hackathon promotional giveaway or a branded merchandise suite for a healthcare provider — a thorough brief can reduce your revision rounds dramatically and keep your order on schedule.
Conclusion: Great Merchandise Starts With a Great Brand Designer Brief
Working with a brand designer on custom merchandise doesn’t have to be a frustrating process. When both the designer and the ordering team understand the technical requirements of merchandise decoration — and when communication flows clearly from the start — the result is branded products that genuinely reflect your identity.
The key takeaways for getting it right:
- Always provide vector artwork with PMS colour codes before any merchandise order begins
- Give your brand designer the product specs and decoration area dimensions before they adapt any files
- Understand your decoration method’s limitations — embroidery, screen printing, and sublimation all have different artwork requirements
- Request print-ready files in standard formats so your business isn’t dependent on one designer for future reorders
- Involve your brand designer for premium or high-visibility merch, but trust your decorator’s in-house team for simpler adaptations
Whether you’re working on your first branded merchandise order or managing a national rollout across multiple Australian offices, getting the brand designer relationship right from day one will save you time, money, and more than a few headaches.