Embroidered Patches Explained: A Complete Guide for Australian Businesses and Teams
Discover how embroidered patches work, when to use them, and how to order them for your Australian business, team, or organisation.

Written by
Priya Kapoor
Branding & Customisation
Embroidered patches have made a serious comeback — and not just in fashion circles. From corporate workwear and sporting clubs to schools, events, and government departments, Australian organisations are increasingly turning to custom embroidered patches as a versatile, cost-effective way to brand clothing, bags, and accessories. Whether you’re outfitting a trades team in Perth, kitting out a footy club in regional Victoria, or adding a professional finish to staff uniforms in Sydney’s CBD, patches offer a level of tactile quality and visual impact that printed logos simply can’t replicate. If you’ve been wondering whether embroidered patches are the right branding solution for your next project, this guide covers everything you need to know.
What Are Embroidered Patches?
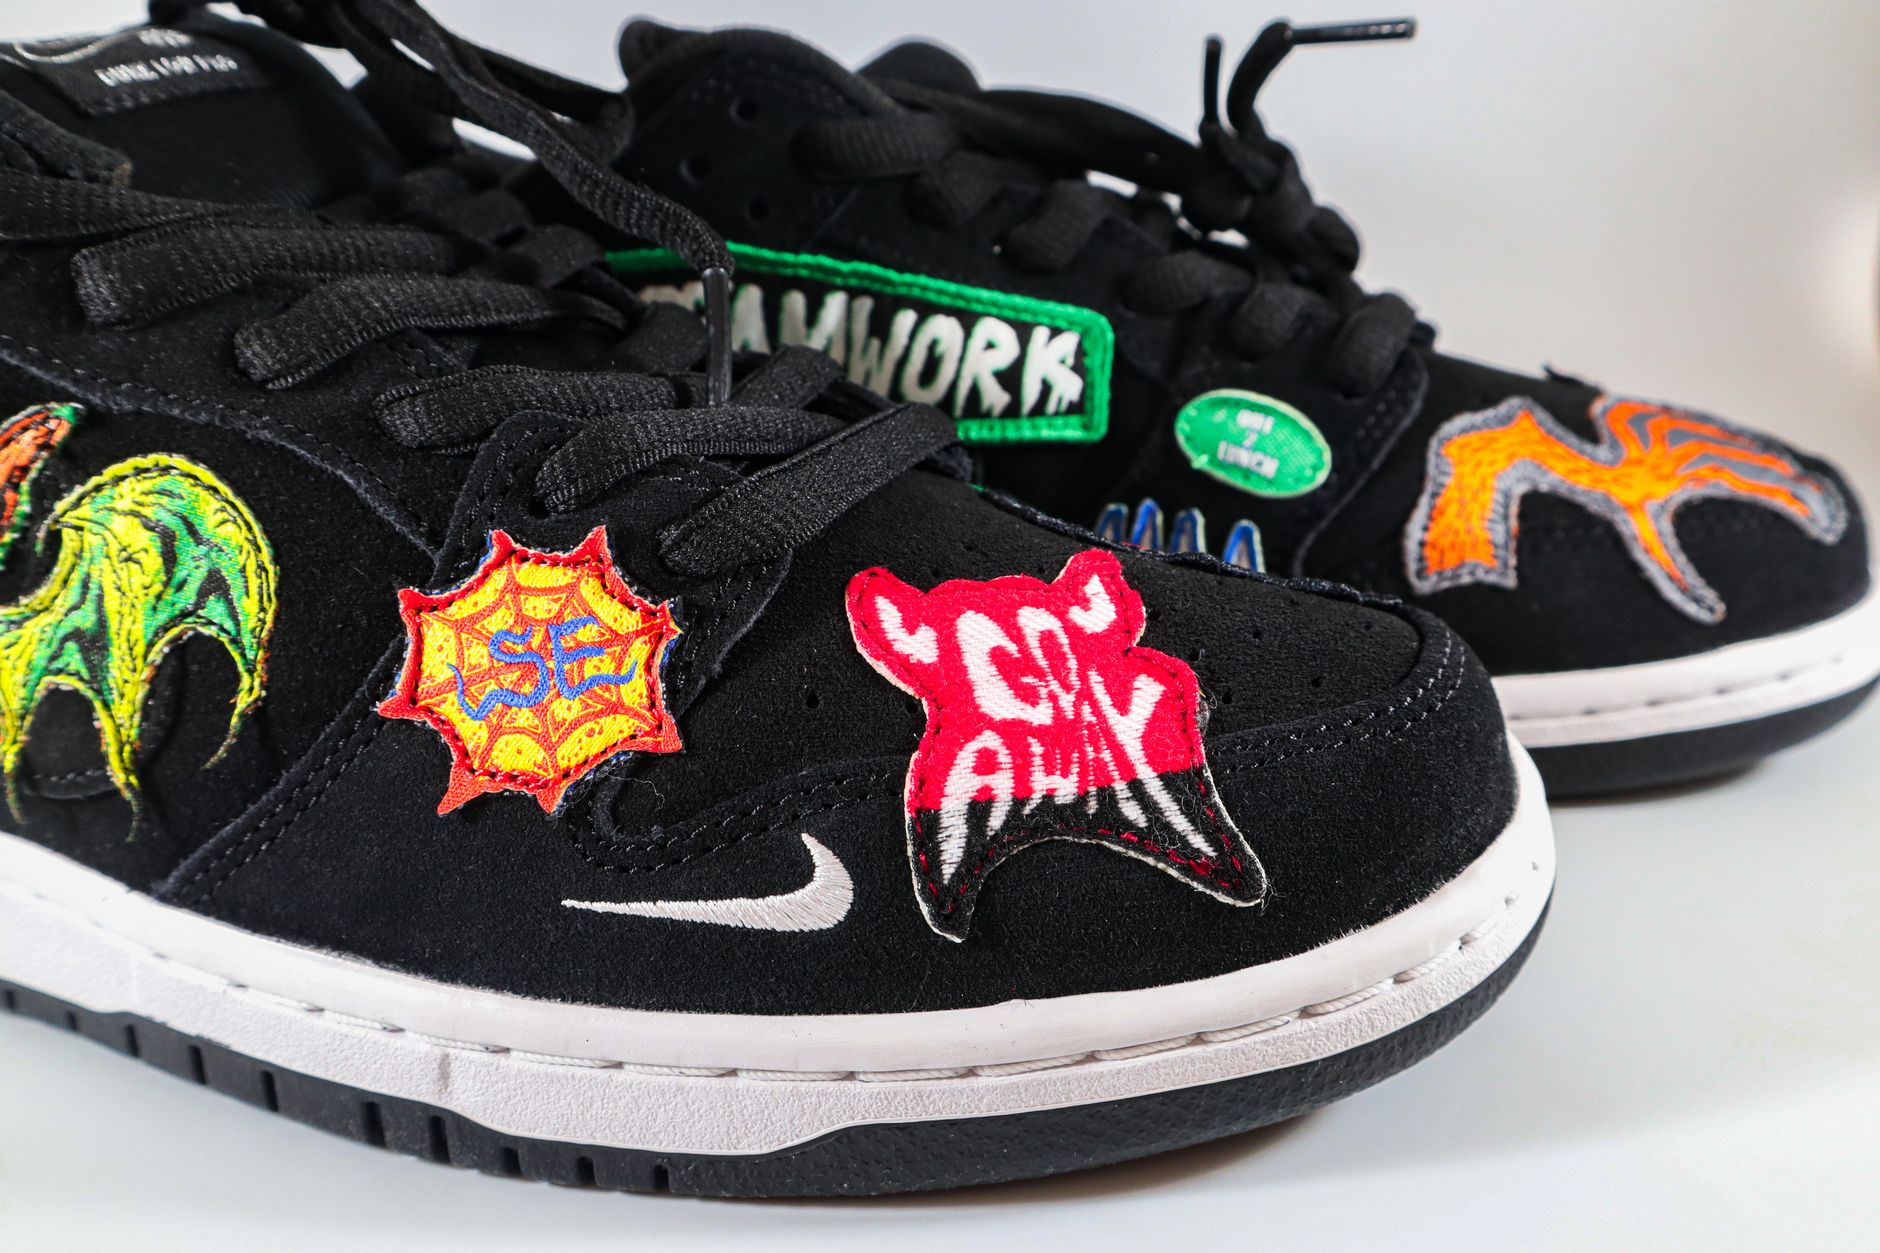
At their core, embroidered patches are fabric pieces — typically a woven or felt base — decorated with a raised, threaded design. They’re created using commercial embroidery machines that stitch hundreds or thousands of individual threads into a design, producing a textured, three-dimensional finish that looks premium and stands up to repeated washing and hard wear.
What sets patches apart from direct embroidery is their versatility. Rather than stitching a logo directly onto a garment, a patch is created separately and then applied — either by sewing, iron-on heat bonding, or hook-and-loop (Velcro) backing. This means the same patch can be applied to multiple garment types without needing to re-embroider each item individually.
Common Types of Embroidered Patches
Not all patches are created equal. Here’s a quick breakdown of the main types you’ll encounter when ordering:
- Fully embroidered patches — The entire surface is covered in thread, creating a dense, premium look ideal for logos with bold, clear designs.
- Partially embroidered patches — The background fabric is visible, which can work beautifully with simple or outlined designs and keeps costs lower.
- Chenille patches — Made with a looped yarn for a soft, raised texture. Popular with sporting clubs, schools, and universities for a classic varsity feel.
- PVC patches — Not technically embroidered, but worth knowing — they’re moulded rubber/PVC and are extremely durable for outdoor or tactical applications.
- Woven patches — Created on a loom rather than embroidered, allowing for very fine detail and small text. Great for complex designs.
Understanding which type suits your design and application will save you time and budget at the ordering stage.
When Do Embroidered Patches Make Sense for Branding?
Patches aren’t always the right tool for every job — but when the conditions are right, they’re hard to beat. Here are some scenarios where they genuinely shine.
Uniform Branding Across Multiple Garment Types
If your team wears a mix of polo shirts, bomber jackets, vests, and caps, ordering embroidered patches lets you create one consistent design that gets applied across all garment styles. A Brisbane construction company outfitting workers in hi-vis vests, drill shirts, and beanies, for example, could order a bulk run of patches and apply them across the entire wardrobe — far more efficient than setting up embroidery on each garment individually. For more on hi-vis and workwear branding, the considerations aren’t entirely different from what’s covered in our article on Australian fishing shirts and workwear branding.
Sporting Clubs and Associations
Patches are a staple in the sporting world, and for good reason. They look sharp on training jackets, club jerseys, and supporter gear. A Melbourne AFL club, for instance, might use chenille patches on varsity-style hoodies sold as supporter merchandise, while a Gold Coast surf club might use fully embroidered patches on their members’ rashguards and team bags.
Events, Conferences, and Trade Shows
Custom patches make memorable giveaway items and can be applied to lanyards, tote bags, or conference jackets. They also work brilliantly as collectibles — event patches have a long tradition in Australia, particularly in the outdoor, motorsport, and music festival space. If you’re planning an event merchandise range, it’s worth pairing patches with other items like printed stubby coolers or branded pens for a cohesive giveaway pack.
Schools and Education Institutions
Many Australian schools use embroidered patches on blazers, sports bags, and caps as an affordable alternative to fully embroidered garments. A Canberra private school, for example, might order a run of house-colour patches for sports carnivals — far more budget-friendly than custom garments per student.
How Embroidered Patches Are Made: The Process Explained
Understanding the production process helps you set realistic expectations around artwork, timelines, and cost.
Artwork and Digitising
The first step is converting your logo or design into a digitised embroidery file. This is a specialist process where a digitiser maps out every stitch path, direction, and density. Good digitising makes the difference between a crisp, professional patch and one that looks muddy or misregistered. If your logo includes very fine detail, small text under 6mm, or gradients, your supplier will likely advise simplifying the design for best results.
Thread Colours and Matching
Most embroidery uses Madeira or Isacord thread colours, and suppliers will typically match to your brand’s PMS (Pantone Matching System) colours as closely as possible within available thread stock. It’s always worth specifying your PMS codes when placing your order to avoid surprises — particularly if your brand colour is highly specific.
Backing Options
Once the patch is embroidered, the backing determines how it gets applied:
- Iron-on — Heat-activated adhesive. Quick to apply but may loosen over time with frequent washing; best reinforced with a few stitches around the border.
- Sew-on — The most durable option. Requires a sewing machine or hand-stitching but will outlast the garment itself.
- Hook-and-loop (Velcro) — Popular for tactical gear, workwear, and items where patches need to be swappable.
- Peel-and-stick — Convenient for temporary applications like events or displays.
Production Timelines and MOQs
Standard lead times for custom embroidered patches in Australia typically run between 10 and 20 business days once artwork is approved, though express options are often available. Minimum order quantities vary by supplier but commonly start around 50–100 patches for a cost-effective run. Ordering in higher quantities — say 250 or 500+ — significantly reduces the per-unit cost, making bulk ordering smart for organisations with ongoing uniform or merchandise needs.
Design Tips for Getting the Best Results
Getting your design right before you go to production is critical. Here are practical tips to ensure your patches come back exactly as intended.
Keep it clean and bold. Intricate designs with thin lines, small text, or photographic elements don’t translate well to embroidery. Opt for clear shapes, strong contrast, and simple typography. For context on how design complexity affects other decoration methods too, our guide to increasing brand awareness through merchandise has useful framing around consistent visual identity.
Choose the right size. Most standard patches fall between 6cm and 10cm in diameter or width. Going smaller than 5cm makes fine detail difficult to render clearly. Going larger drives up the per-unit cost but allows more design complexity.
Consider the background fabric. If you’re applying patches to dark garments, a bordered or merrowed edge (a wrapped thread border) helps the patch stand out cleanly.
Request a physical sample. For large orders, always request a pre-production sample or prototype patch before approving the full run. A reputable branded merchandise supplier will offer this as standard practice.
Comparing Embroidered Patches to Other Decoration Methods
It’s worth briefly understanding how patches stack up against alternative approaches — because sometimes a different technique is the better call.
Direct embroidery stitches your design straight onto the garment. It’s extremely durable and looks seamless, but it’s more expensive per garment and can’t be easily transferred. Our overview of decoration methods for branded apparel touches on when direct embroidery vs patches makes sense in a workwear context.
Screen printing is best for flat, high-volume designs on t-shirts and similar garments. It’s cost-effective at volume but doesn’t offer the tactile, premium quality of embroidery. If you’re ordering items like gym towels or casual tees, screen printing might be more appropriate.
Heat transfer and sublimation offer photographic full-colour reproduction, but the finish sits on top of the fabric rather than being embedded in it — making them less durable for high-wear applications.
For items that need to look professional, last a long time, and be applied across varied products, patches remain one of the most flexible and high-quality options available.
Budget Considerations for Australian Organisations
Budget planning varies widely depending on order volume, design complexity, patch size, and backing type. As a rough guide:
- Small runs (50–100 patches): Setup and digitising fees are typically absorbed into the unit cost, and you’ll pay more per patch — often $3–$8 each depending on size and complexity.
- Mid-volume runs (250–500 patches): Unit costs drop significantly, often to $1.50–$3 per patch.
- Large runs (1,000+ patches): Can bring costs below $1 per patch for simpler designs.
For organisations looking to maximise their branding budget — particularly charities and not-for-profits ordering staff or volunteer uniform patches — the economics of larger runs are compelling. Keep digitising fees in mind: this is usually a one-off setup cost per design, typically $30–$80, paid once regardless of how many times you reorder.
Applications Beyond Clothing
It’s easy to default to thinking of patches as purely a garment decoration, but their versatility extends further. Custom embroidered patches can be applied to:
- Backpacks and tote bags — A smart branded touch for corporate gifting or event merchandise
- Caps and beanies — Particularly popular for sporting clubs and outdoor brands
- Lanyards — Smaller patches work well as lanyard add-ons for conference branding
- Tent walls and display panels — Velcro-backed patches can be used on event signage and displays
If you’re incorporating patches into a broader merchandise strategy — perhaps alongside Australian Indigenous flags for cultural events or first aid kits for safety-focused workplace branding — they add a flexible, memorable element to almost any branded merchandise programme.
Key Takeaways
Embroidered patches are a genuinely versatile, durable, and cost-effective branding tool for Australian businesses, clubs, schools, and organisations. Before placing your next order, keep these points in mind:
- Design for the medium — Keep artwork bold, clean, and free of fine detail or gradients for best embroidery results
- Choose the right backing — Iron-on suits quick applications; sew-on is the most durable; hook-and-loop works where patches need to be swappable
- Order in bulk — Per-unit costs drop sharply at higher quantities, making larger runs significantly more economical
- Request a sample — Always approve a physical prototype before committing to a full production run
- Think beyond garments — Patches work on bags, caps, lanyards, and more, making them one of the most adaptable decoration options available
Whether you’re refreshing your team’s workwear, building a merchandise range for your next event, or creating keepsake items for a sporting club, embroidered patches deliver a quality finish that genuinely resonates with the people who wear or receive them.